Common Mistakes in Travel Storytelling: 10 Pitfalls to Avoid
October 29, 2026 - Stories


October 29, 2026 - Stories
October 25, 2026 - Stories
October 21, 2026 - Photography
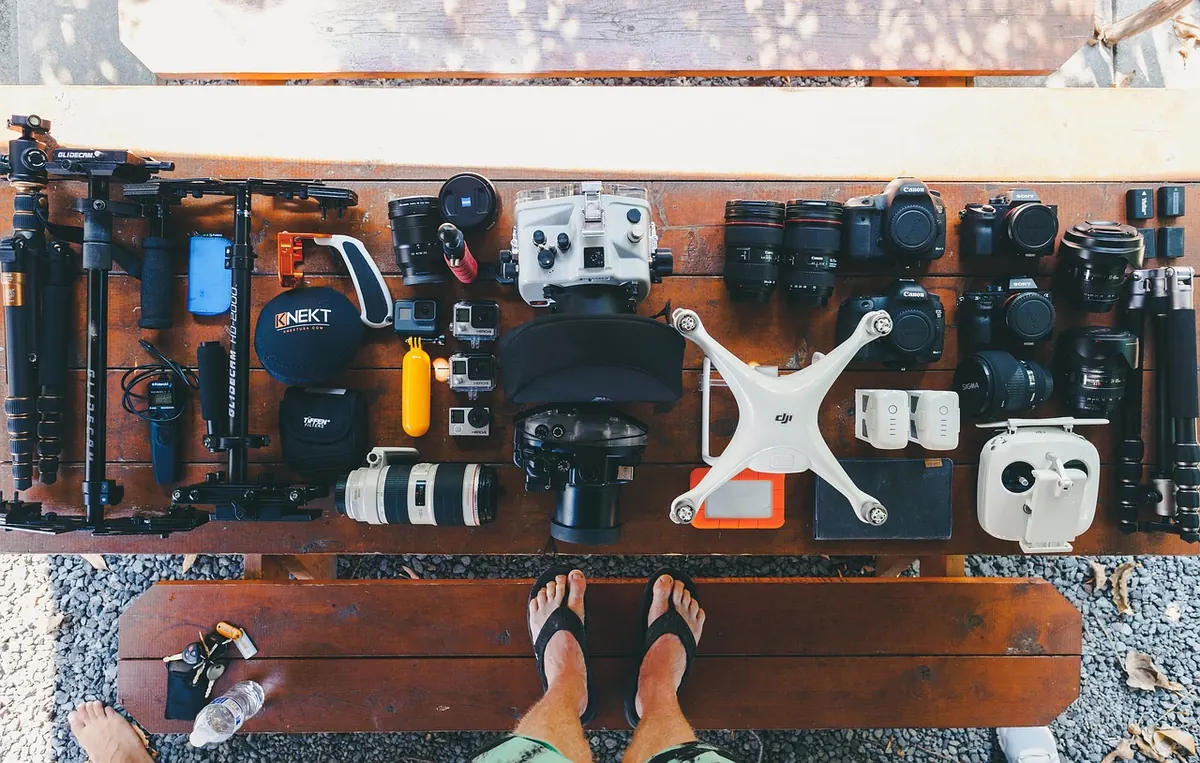
At half past six in a hill town in Le Marche, the light comes over the ridge and the square turns briefly, unrepeatably pink. You have about ninety seconds. Whether you get that frame has less to do with your sensor than with the bag on your back: how fast you can reach the camera, and whether you still feel like stopping at all after five hours of walking. That is the honest version of the daypack-versus-camera-backpack argument. It isn't about which bag is better in general. It's about which one is better for the trip you're actually taking.
A daypack is designed around carrying weight comfortably over distance. One main compartment, maybe a lid pocket and a laptop sleeve, two stretchy side pockets for water. It holds a rain jacket, lunch, a book, a scarf you'll shed by noon. Its harness is often surprisingly good for the price, because that's the part people test in the shop.
A camera backpack is designed around a padded box. Dividers, a clamshell or side opening, a spot for a tripod, a rain cover folded into the base. It protects a body and two or three lenses very well and carries everything else as an afterthought.
The difference is invisible in a shop mirror and obvious at hour six of a trail above Cortina, when one bag is distributing weight across your hips and the other has become a box of bricks hanging off your shoulders.
Most travellers test a bag loaded with two kilos of air. Do it properly instead: put your actual kit inside, add a water bottle and a jacket, and walk around the block for twenty minutes. Then do it again with the bag half empty, because that's how it will feel on the days you leave the camera at the hotel.
A well-fitted camera backpack wins on structure. Its load sits close to your spine and the padding is where the weight is. But many photography packs have short, thin hip belts and stiff, boxy backs that don't breathe, which matters more than most people expect on a hot afternoon.
A daypack usually wins on harness and ventilation, and loses on shape. Drop a padded insert into a soft bag and the whole thing can sag into a lump, with the camera resting on the bottom seam. Two fixes work well: choose an insert with a rigid base panel, or slide a folded foam mat or a stiffened laptop sleeve down the back to give the bag a spine.
Whichever you pick, keep the total under what you'd happily carry for a full day on foot. If the bag feels heavy at nine in the morning, it will feel like a punishment by four.
Access is where trips are quietly won and lost.
A top-loading daypack with an insert inside means stopping, shrugging the bag off, setting it down, unzipping the lid, moving a jacket aside, and pulling out the camera. In dry weather on an empty path, fine. In a crowded vaporetto, in drizzle, on a dusty track, you'll do it twice and then stop bothering. A camera you don't want to take out is a camera you stop using.
Camera backpacks solve this with side or rear panels. Side access lets you swing the bag around on one shoulder and pull the body out in a couple of seconds, which is excellent for street work and city walking. Rear access is slower but safer: you set the bag down, open the back away from your body, and your gear is never on display to the street behind you.
This is the part people forget. A clamshell camera bag opens flat with dividers standing up, so you can swap lenses with the bag on your chest and your body shielding the open compartment from wind and grit. In a daypack insert, you're often working inside a narrow tube, which is where dust gets in and lenses get fumbled. Practise a lens change at home before you leave; it's better to be clumsy in your kitchen than on a windy ridge.
A dedicated camera bag is built to take a knock. Structured walls, a reinforced base, dividers that stop lenses knocking together, sometimes a sealed zip. A daypack offers whatever your insert offers, and nothing more: the bag itself won't cushion a fall down a stone staircase.
Weather is the other half. Camera packs usually ship with a rain cover; daypacks often don't, and their zips and seams are not designed for a two-hour downpour. A cheap aftermarket cover and a light dry bag for the camera insert will close most of the gap. Sand is subtler — mesh side pockets on hiking daypacks collect it, and it works its way into everything. Turn the bag upside down and shake it out at the end of a beach day rather than carrying the beach home.
Then there's attention. A purpose-built camera backpack announces its contents to anyone who knows what they're looking at. A plain daypack with an insert looks like every other bag on the train. That isn't a rule and it isn't a reason to be fearful, but in crowded stations and busy markets it's worth a thought. The usual sensible habits still apply: keep the bag in front of you in crowds, and don't leave it hanging off a chair back at dinner.
Trips are rarely seven days of shooting. There's the afternoon you leave the camera behind and walk to a market, the flight where the bag becomes your carry-on, the evening you want one bag for a jumper and a paperback.
A daypack does all of that without complaint. A camera backpack, opened flat on a café floor to reach a wallet, draws looks and takes up the aisle. This is where the hybrid option earns its place: a camera backpack with a removable insert becomes an ordinary backpack once the box comes out, and a daypack plus a good insert becomes a camera bag when you need one. Both give you two bags for the price and weight of one and a half.
Work through these in order. The first answer that feels obviously true usually settles it.
If the answers pull in two directions, that's normal. Take the hybrid route: a comfortable daypack with a rigid-based insert and a rain cover, or a camera backpack whose insert lifts out. The worst outcome is buying a bag that's excellent at one thing and miserable at the other for twelve days straight.
Load the bag at home, camera in, and walk for an hour with the camera out of the bag. You'll learn more about the harness in that hour than in any product description. Test the rain cover in the shower with a folded towel inside, then check whether the towel is dry at the corners.
Keep the camera where you can reach it while walking, not at the bottom under a rain jacket. Carry a spare battery and card in a lid pocket, not in the main compartment. If you're flying with the bag as cabin luggage, pack it once and measure it, straps and all. And before you leave, put a small dry bag and a spare zip pull in the bottom pocket — small things that turn a decent bag into one you stop thinking about, which is exactly what you want when the light turns pink over the square.
Photo: StockSnap / Pixabay
Ten habits that flatten travel writing, from postcard adjectives to missing stakes, each with a specific practical...
A working guide to coastal villages at first light: how fishermen, café counters, and shifting shadows shape a...
October 29, 2026 - Stories
October 25, 2026 - Stories
Copyright © 2026 Tracce Del Vento. All Right Reserved.